Get Started
How to get started with Relno by adding it to an existing project.
Prerequisites
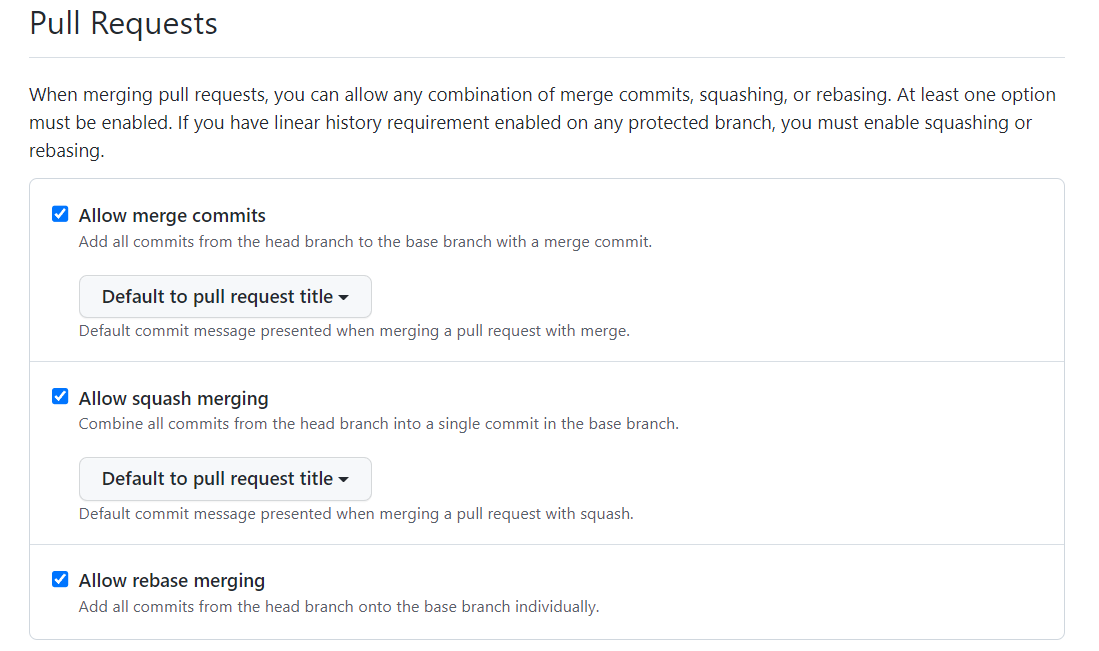
Change your repository default pull request title format. You can find it in Settings -> General -> Pull Requests on GitHub repository page.
Setup config file
Create a relno.config.js file in your project root directory.
module.exports = { template: "template.rntmd", prTypes: [ { identifier: "breaking", title: "⚠️ Breaking Changes", filter: (_, commit) => commit.message.match(/([^()\n!]+)(?:\(.*\))?!: .+ \(#[1-9][0-9]*\)/) !== null, }, { identifier: "feat", title: "🚀 Enhancements" }, { identifier: "fix", title: "🩹 Fixes" }, { identifier: "docs", title: "📖 Documentation" }, { identifier: "chore", title: "🏡 Chore" }, { identifier: "refactor", title: "💅 Refactors" }, { identifier: "test", title: "✅ Tests" }, ],};template is the template file path. We will use this file to generate the release note. prTypes is the pull request type configuration. identifier is the pull request type identifier. title is the pull request type title which would be generated. According above config, if you have a pull request with title feat: add new feature, the generated title would be 🚀 Enhancements
Then, create a template.rntmd file in your project root directory.
## 📝 Changelog[compare changes]({{ compareUrl }})<!-- BEGIN breaking SECTION -->### {{ title }}<!-- BEGIN commits SECTION -->- {{ prSubtype }}{{ generateIfNotEmpty(prSubtype, ": ") }}{{ toSentence(message) }} (#{{ prNumber }})<!-- END commits SECTION --><!-- END breaking SECTION --><!-- BEGIN feat, fix, docs, chore, refactor, test SECTION -->### {{ title }}<!-- BEGIN commits SECTION -->- {{ prSubtype }}{{ generateIfNotEmpty(prSubtype, ": ") }}{{ generateIf(prBreaking, "⚠️ ") }}{{ toSentence(message) }} (#{{ prNumber }})<!-- END commits SECTION --><!-- END feat, fix, docs, chore, refactor, test SECTION --><!-- Generate by Release Note -->You might notice that there are some special syntax in the template file. {{ }} is the expression syntax. Relno would replace it with the specified variable or macro, even a string literal. <!-- BEGIN commits SECTION --> and <!-- END commits SECTION --> is the section syntax. Relno need this to know where the content should be inserted.
Install Relno
Now, you can add Relno to your release workflow, or just run it as a command line tool.
GitHub Action
name: Releaseon: release: types: [published, edited]jobs: release-note: runs-on: ubuntu-latest steps: - uses: actions/checkout@v3 with: fetch-depth: 0 - uses: ppodds/relno-action@v1 with: token: ${{ secrets.GITHUB_TOKEN }}Create a new release, and you will get your beautiful release note. 🚀
Command Line Tool
You can install Relno globally or as a dev dependency.
npm install -g relno-cliAfter installation, you can run relno-cli in your project root directory.
npx relno-cli --helpA few examples is listed below.
npx relno-cli -f v0.0.1 -t v1.0.0 -m compareUrl=https://github.com/ppodds/relno/compare/v0.0.1...v1.0.0npx relno-cli -f 5351949a32bebff9562ce5ba9078360b8fe38711 -t d467be3275eaca3639a1b6825b705cfc83fe072d